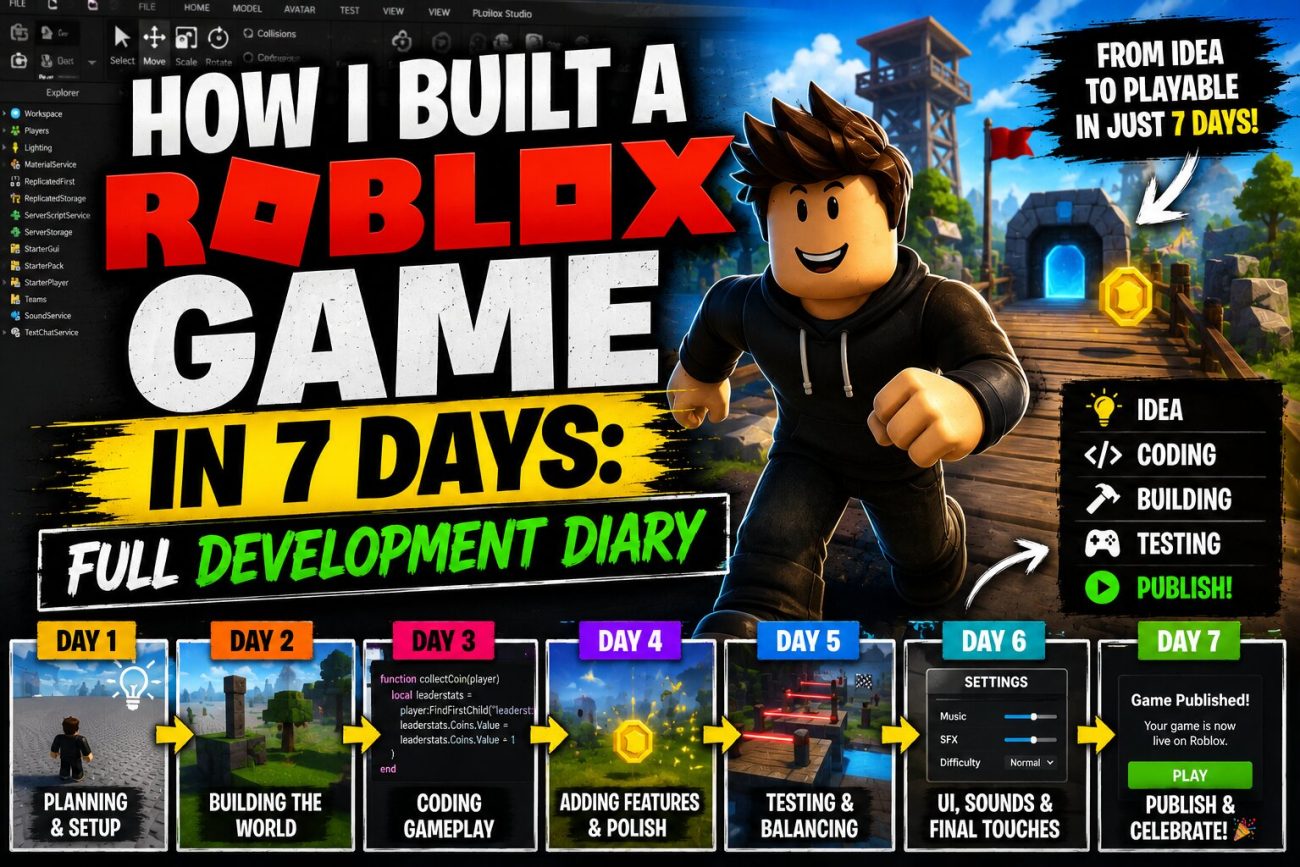
Building a Roblox game sounds much easier than it actually is.
You can open Roblox Studio, create a new project, place a few objects, and technically have something that resembles a game within minutes.
The difficult part is turning that basic project into something players can actually understand and enjoy.
For this seven-day experiment, my goal was simple:
Build a small, playable Roblox game from scratch in one week.
I wasn’t trying to create the next massive Roblox experience.
Instead, I wanted to see how far a beginner-friendly project could realistically progress in seven days.
The final goal was to have:
- A playable game loop
- A simple map
- Basic UI
- Player progression
- Working scripts
- Sound effects
- A simple reward system
- A published test version
What I Planned to Build
Before opening Roblox Studio, I needed a small idea.
I chose a simple obby-style challenge game because it doesn’t require a massive map or complicated systems.
The basic gameplay loop was:
Start → Complete obstacles → Reach checkpoints → Finish → Receive reward
This was deliberately simple.
Trying to create an MMORPG, simulator, or large multiplayer shooter in seven days would have been unrealistic for a beginner.
My Seven-Day Development Plan
I divided the project into seven stages.
| Day | Main Goal |
|---|---|
| Day 1 | Game concept and project setup |
| Day 2 | Build the map |
| Day 3 | Add gameplay mechanics |
| Day 4 | Add checkpoints and progression |
| Day 5 | Create UI and polish |
| Day 6 | Testing and bug fixing |
| Day 7 | Final testing and publishing |
The plan wasn’t perfect.
Several tasks took longer than expected.
That’s actually one of the biggest lessons I learned during the project.
Day 1: Planning the Game
Before building anything, I wrote down the basic game loop.
I asked three questions:
What does the player do?
Complete an obstacle course.
Why should the player continue?
Each section becomes progressively more difficult.
What happens when they finish?
The player reaches the final area and receives a completion reward.
That’s enough for a simple first project.
I also decided what I wasn’t going to build.
No:
- Complex inventory
- Trading system
- Large economy
- Advanced NPC AI
- Massive open world
- Complicated matchmaking
This kept the project realistic.
Setting Up Roblox Studio
Roblox Studio is the primary development environment used to create Roblox experiences.
Roblox provides official documentation covering Studio, scripting, building, testing, publishing, and other development systems. (create.roblox.com)
I started with a basic template and created the initial project structure.
Before adding gameplay, I organized the project so I could easily find:
- Maps
- Scripts
- UI
- Spawn locations
- Checkpoints
- Assets
Organization seems boring at the beginning.
It becomes extremely useful once the project gets larger.
Day 2: Building the Map
The second day was focused almost entirely on level design.
I started with a simple spawn area.
Then I created several obstacle sections.
Section 1
Simple jumps.
Section 2
Moving platforms.
Section 3
Narrow platforms.
Section 4
Timed obstacles.
Section 5
Final challenge.
I deliberately increased the difficulty gradually.
A beginner should be able to understand the first section without needing instructions.
Why I Kept the Map Small
One of my biggest mistakes would have been trying to build too much.
A huge map might look impressive in screenshots, but if most of it is empty, it doesn’t make the game better.
Instead, I focused on:
Small map + clear gameplay
rather than:
Huge map + unfinished mechanics
This also made testing much easier.
Day 3: Adding Gameplay
Once the map existed, I needed to make it function like an actual game.
This is where scripting became important.
Roblox uses Luau, Roblox’s scripting language, for creating gameplay behavior. Roblox’s official documentation provides extensive Luau scripting resources for creators. (create.roblox.com)
I started with simple mechanics.
Creating a Checkpoint System
The checkpoint system was one of the first mechanics I implemented.
The basic idea:
Player reaches checkpoint → checkpoint becomes their latest progress → player respawns there after failing
This makes the game much less frustrating.
Without checkpoints, a player could fail near the end and have to repeat the entire course.
Adding a Finish System
Next, I created a finish area.
When the player reaches the final point, the game recognizes the completion.
The game can then:
- Display a completion message
- Record the player’s progress
- Award a reward
- Allow the player to replay
Keeping the system simple made debugging much easier.
Day 4: Progression and Rewards
A game needs some reason for players to continue.
I added a basic progression system.
Players could track their progress through the course.
I also experimented with a simple reward system.
The important part was avoiding unnecessary complexity.
For a first Roblox game, you don’t need a complicated economy.
Even simple progression can provide a sense of achievement.
Making the Game Feel Better
At this point, the game technically worked.
But it didn’t feel polished.
That’s a major difference.
A game can be functional and still feel unfinished.
So I started adding small details:
- Better spawn area
- Clearer signs
- Simple UI
- Sound effects
- Visual feedback
- More consistent colors
- Better obstacle spacing
These changes didn’t require huge amounts of code.
But they made the experience feel more intentional.
Day 5: Building the UI
The next major task was the interface.
The player needed to understand:
- Where they were
- What they needed to do
- How far they had progressed
- When they completed the game
I kept the UI simple.
The screen included:
Current checkpoint
Progress
Completion message
I avoided filling the screen with unnecessary buttons.
Why Simple UI Worked Better
My first instinct was to add more information.
Then I realized that more UI doesn’t necessarily mean better UI.
Players should immediately understand:
What am I supposed to do?
If the answer isn’t obvious, the interface needs improvement.
Day 6: Testing Everything
Day six was probably the most frustrating part.
The game looked finished.
Then I started testing it properly.
And I found bugs.
Some obstacles were too difficult.
Some checkpoints didn’t behave exactly as expected.
Certain UI elements didn’t appear correctly.
There were also situations where players could potentially bypass sections.
This is why testing needs to be part of development rather than something you do only at the end.
Testing With Different Scenarios
I tested situations such as:
Normal play
Can someone complete the course normally?
Repeated deaths
Does the checkpoint system behave correctly?
Respawning
Does the player return to the correct location?
Rapid movement
Can players break the obstacle sequence?
Leaving and returning
Does progression behave as expected?
Multiplayer
Does the game still work when multiple players are present?
That last test is particularly important for Roblox experiences.
The Biggest Bug I Found
The biggest problem wasn’t a scripting error.
It was level design.
One obstacle was technically possible, but it was frustrating.
Players had to make a very precise jump with little room for error.
I originally thought:
“This makes the game challenging.”
After testing it repeatedly, I realized:
“This just makes the game annoying.”
So I changed the obstacle.
That was a useful lesson:
Difficulty and frustration aren’t the same thing.
Day 7: Final Polish
The final day was about finishing rather than adding massive new features.
I checked:
- Spawn location
- Checkpoints
- UI
- Sound
- Obstacles
- Rewards
- Respawning
- Performance
- Multiplayer behavior
I also removed a few unnecessary elements.
That’s another lesson I learned:
Finishing a small game is better than endlessly expanding an unfinished one.
What I Managed to Build in Seven Days
By the end of the experiment, the project contained:
- A complete obstacle course
- Spawn area
- Multiple stages
- Checkpoints
- Finish system
- Basic progression
- UI
- Sound effects
- Rewards
- Multiplayer testing
It wasn’t a professional Roblox experience.
But it was playable.
And that was the actual goal.
What Took the Most Time?
Surprisingly, building the map wasn’t the hardest part.
The most time-consuming tasks were:
1. Debugging
Small problems can take much longer to find than expected.
2. UI
Making something functional and readable took more effort than I expected.
3. Testing
Every change required additional testing.
4. Level balancing
An obstacle that seems easy to the creator might be difficult for a new player.
What I Would Do Differently
If I started the project again, I’d change several things.
Plan the systems first
I would write down the major gameplay systems before building.
Build smaller
I’d create fewer obstacles and spend more time polishing them.
Test earlier
I wouldn’t wait until Day 6 to perform extensive testing.
Keep scripts organized
Messy code becomes harder to debug as the project grows.
Get another person to test
A creator knows how their own game works.
A new player doesn’t.
That difference is extremely valuable during testing.
Can a Beginner Really Make a Roblox Game in Seven Days?
Yes—but expectations matter.
You can realistically create a small playable experience in seven days if you keep the scope under control.
You probably cannot realistically create a massive polished game with:
- Dozens of systems
- Advanced AI
- Large-scale multiplayer infrastructure
- Complex economy
- Extensive animation
- Hundreds of assets
in one week as a beginner.
The goal shouldn’t be:
“Build a huge game.”
It should be:
“Finish one small game.”
What You Need to Learn
If you’re starting from zero, focus on a few fundamentals.
Roblox Studio
Learn how to navigate the editor and manage objects.
Building
Learn parts, models, materials, lighting, and basic level design.
Luau
Learn variables, functions, events, conditionals, loops, and basic scripting.
UI
Learn how to create simple interfaces.
Testing
Learn how to test different player situations.
Publishing
Learn how to configure and publish your experience through Roblox’s creator tools.
Roblox’s official documentation provides learning resources for all of these areas. (create.roblox.com)
A Realistic Beginner Learning Path
If you want to build your first Roblox experience, don’t try to learn everything simultaneously.
Use this progression:
Week 1
Learn Roblox Studio.
Week 2
Learn basic building.
Week 3
Learn basic Luau.
Week 4
Build a tiny prototype.
Then start improving it.
You don’t need to become an expert before creating your first game.
You’ll learn faster by building something and solving problems as they appear.
My Biggest Lesson From the 7-Day Challenge
The biggest lesson wasn’t about scripting.
It was scope.
My original ideas were much larger than what I could realistically finish.
Once I reduced the project to one simple gameplay loop, everything became easier.
That’s probably the most important advice I’d give a new Roblox developer:
Make your first game smaller than you think you need to.
A finished five-minute experience teaches you more than an unfinished fifty-hour project.
Final Verdict
Building a Roblox game in seven days is possible if you keep the project small.
You don’t need:
- A huge development team
- Hundreds of assets
- An enormous map
- Complicated mechanics
You need a clear idea, a manageable scope, and enough time to test what you build.
My seven-day project wasn’t perfect.
But it taught me something more useful than simply following a tutorial:
I learned how the different pieces of a Roblox game fit together.
The next project can be bigger.
But the first one needs to be finished.
Frequently Asked Questions
Can I make a Roblox game in seven days?
Yes. A beginner can create a small playable experience in seven days if the scope is limited. A large, polished commercial-scale game would require significantly more time and development resources.
Do I need to know coding to make a Roblox game?
Not necessarily for basic building, but learning Luau becomes important when you want to add custom gameplay mechanics, systems, and interactions. Roblox officially uses Luau for scripting. (create.roblox.com)
Is Roblox Studio free?
Roblox provides Studio as its development environment for creating Roblox experiences. Check Roblox’s current official Studio documentation for the latest availability and requirements.
What should my first Roblox game be?
Start with something simple such as an obby, small simulator prototype, basic racing game, or short adventure experience.
How long does it take to make a professional Roblox game?
There is no fixed timeline. Small experiences can be created quickly, while larger projects can take months or longer and may require multiple developers, artists, designers, and other specialists.
Can Roblox games make money?
Yes, eligible creators can monetize qualifying experiences and virtual content. Roblox also has creator programs such as Developer Exchange for eligible Earned Robux. Requirements apply.
Should I use free Roblox models?
Free assets can help with prototyping, but you should understand what you’re adding to your project and review assets carefully. For a serious published game, learning to build and script your own systems gives you much more control.
